Pages

Friday, December 31, 2010

My Birthday Boy

I can't believe this little guy is 2 already.  Such a blessing, this kid is.  He's almost always this happy.  Even when he's mad (and he does have quite a temper), he's so ridiculously funny.  I just know he's going to be that kid in school that everyone likes.  Even though Charlotte and Gavin beat up on him a little, there's a whole lot of hugs and kisses in there as well.  They think he's pretty neat, too.

His party is on Sunday, but we still wanted to celebrate with some birthday cake!

Last week, on my hunt for stocking stuffers, I found these in 5 Below:
I didn't know what I was going to use them for, but I bought them anyway because I thought they were so cute!  And then the stars aligned, and I read this post from Serena, and I knew exactly what to do with them! (Okay, so her cake was WAY cuter....whatever!)

I started with a yellow cake from a box.  Short on time, you know?


Here's the yummy buttercream icing recipe I used, except I halved it:

Buttercream Icing (yields 5-6 cups)
1 cup butter
1 cup shortening
1/2 cup milk
2 tsps. vanilla
8 cups confectioners sugar

Cream the butter and shortening together until smooth.  (I had my mixer going for about 10  minutes).  Gradually add sugar, milk, and vanilla.  Mix until smooth.

Then I added all of the chocolate cones and mushrooms for the winter-wonderland vibe.


Okay, it's not nearly as pretty as Serena's.  But Nathan liked it! And that's what counts!

Tuesday, December 28, 2010

New Year's Goals

I hate New Year's Eve.  I always have.  Everyone in the world views December 31st as a new, fresh, beginning....but I see it as an ending.  I don't know why.  I have tried and tried to change that mentality with no success.

Two years ago at this time, this little guy was born:
We spent the first moments of 2009 alone, getting to know each other in a hospital room.  And I decided that I finally had a reason to like New Year's Eve, at least a little, since I can celebrate his birthday.

I've also never been one to make sincere resolutions for the New Year, particularly because I'm always making goals and resolutions for myself year-round.  But there are definitely a few things I'd like to accomplish in 2011.  Hopefully you'll keep up with me on this blog to see my progress and keep me in check!

1.  PLAY MORE
Whenever I have a spare moment at home, I find ways to fill it:  laundry, dishes, wiping countertops.  The moments are few that I actually get down on the floor and play "princesses" with Charlotte, or Batman with Gavin, or cars with Nathan.  I need to do more of that.  It became very apparent the other day when I said to Charlotte, "What toy do you want to play with?" and she said, "I want to play with you, Mommy!"  Melted my heart.

2.  STOP USING AUTO MODE ON MY SLR CAMERA
I take crappy pictures, and I love and appreciate beautiful ones.  I want to take more of the beautiful ones.  I have a Nikon D60 -- a birthday gift from Michael right before Nathan was born.  I was under the impression that with a good camera, I would take better photos.  I was wrong.  I'm learning, but it's s-l-o-w going.  I practice a lot.  Hopefully you'll see improvement in 2011!  Here's a practice shot from just this morning.


3.   DO SOMETHING ABOUT THIS CLOSET
I'm not kidding, we have NO other closets in our entire house other than this one and the bedroom closets.  No linen or storage closets at all.  How we didn't notice that before we bought the house, I'll never know.  Clearly something needs to change here.

Do I even need to go into all the other resolutions?  Eat healthier, exercise more, lose 10 pounds, blah, blah, blah.  We all have to start somewhere.

And what about you, readers? Any resolutions you're willing to share?

Saturday, December 25, 2010

Merry Christmas!

On Christmas morning every year, we start the day at my parent's house.  Now that the five of us are married, Christmas day often takes us in different directions. But we always start the day here, often in our PJs.  And it's my favorite part of the day.

Merry Christmas to you and yours!

Thursday, December 23, 2010

DIY: Salt Dough Ornaments

I apologize for my lack of post lately!  Thanks for hanging in there with me.  I *finally* presented my thesis and officially earned my Masters in Reading, so my agenda has opened up again, at last.  I look forward to many new creative projects in the new year!  On to the post....

I adore homemade gifts.  I love making them, and I love receiving them.  This year, a colleague made me lemon sugar shower scrub, and it is my absolute favorite gift.  I'm tucking that idea away for the kids' teachers for next year...

This year, I decided to make salt dough ornaments for the teachers.  It's easy enough.

Salt Dough Recipe:

1/2 cup table salt
1/2 cup water
1 cup flour

Mix ingredients together in a blender until a sticky dough forms.  Then, knead the dough for about 10 minutes.  Roll it out to about 1/4" thick, and use your favorite cookie cutters to cut shapes, as you would sugar cookies.  Use a skewer to punch a hole in the ornament so you can thread some string through to hang them.


Eating a cheese and chocolate chip cannoli from Termini Bros. while you're making salt dough ornaments is helpful, but optional.
I have a love-hate relationship with any kind of dough.  Okay, it's mostly a hate-hate relationship.  I can't seem to get dough smooth (it's always crumbly), and I really stink at rolling it out.  It always shrinks back up on me.  But salt dough is really forgiving.  I got eight ornaments out of this batch of dough, but I bet a skilled dough-roller would be able to get more.

I baked the ornaments on a baking sheet at 200 overnight.  I mean it, they were in the oven from 10 pm until 6 am.  They don't burn.  All of the moisture leaves the dough, and they get really hard, which is what you want.

You can decorate salt dough ornaments with anything...marker, pencil, glitter-glue, whatever!  I had the kids color the snowmen with small Sharpie markers.  I neglected to take photos of our finished product, however, because Charlotte proceeded to scribble on the table, and Nathan decided to decorate the floor.  *sigh*  But here's a photo of one of our "rejects":
And here's an example of some really beautiful salt dough ornaments decorated with a red pen. These ornaments were made by Katy Elliot.  You can find her blog and tutorial here. 

What about you?  Did you make or receive anything homemade this year?

Thursday, December 2, 2010

Christmas Bedroom Vignette

It's that time of year again, my friends!

Life for me has been a whirlwind of activity with very little downtime lately.  I've neglected holiday decorating, holiday baking, and I've been somewhat of a Scrooge.  (I also haven't tended to my garden for about four years, but that's a story I'll save for Spring....)

This year, my kids are *slightly* older, my feet are *kind of* back on the ground, I'm *sort of* getting more sleep, and I HANDED IN THE FINAL COPY OF MY THESIS TONIGHT!!!  I feel like I have all the free time in the world!!!

And that means I actually had a minute to create a holiday vignette for Rhoda's Vignette Party.  When I noticed that several of my favorite bloggers were mentioning this vignette party, my first thought was: what the hell is a vignette? (As it turns out, a vignette is nothing more than a little display.) And then I thought: I have time for that this year!

So, I threw some stuff on my bedside table, and voila! It's a vignette! :)  Usually the bedside table is also piled with a stack of diapers, some Aquaphor, tissues, and books, but I cleared them off for this occasion.  In fact, if I had panned out the photo a little wider, you would see them on the bed.


Here's my favorite little twist pedestal and my new glass cloche.  Michael teases me about the cloche a lot, since I like to "put everything under glass."  The fake snow and the pinecones are from Michael's, and the little bird is from the Dollar Tree.  I love that he's all silvery and fancy.

The dish on the pedestal was a gift.  My mom and my aunt Cheryl bought me a set of these vintage dishes, berry bowls, plates, and teacups.  I LOVE them, but for the life of me I cannot remember what they are called.  They are so delicate that I rarely use them, but this seemed safe enough.  Look at the pattern on this rim.  Isn't is gorgeous?  Love.

I used a dish from the same collection to hold my mercury glass ornaments.  These are from the same collection I have on my mantel....the ones that were originally my Mom's.  Did you know that it is impossible to take a photo of mercury glass ornaments without getting yourself in the reflection?  It's true.  Can you tell I'm in my pajamas? :)

I can't wait to show you this next photo, because I am so proud of it.  Check out the sun flare.  I did that on purpose!  I love it!

This is a reproduction Christmas card that I picked up at Home Goods a few years ago.  They came in a pack of 12, but I never sent any, because I couldn't decide which 12 people to send one to.  So now I just use them for decoration!  Aren't they cute?  Here's a photo without the sun flare.

I picked up the little red and white "ribbon candy" ornaments at the Dollar Tree.

And my Valentine's Day gift from last year, my Pottery Barn Charleston Vintage Clock, sits atop a couple of children's Christmas books.

So, that's my holiday vignette!  I give it a few hours before it's covered with diapers and tissues again.

 I'm linking up to Rhoda's Vignette Party and Very Merry Vintage Style.  Check out their sites for some beautiful holiday vignettes!


Holiday Home Party @ Very Merry Vintage Style


Tuesday, November 30, 2010

A Christmas/Holiday Mantel and Link

I'm pretty new to this decorating-the-mantel thing.  For the first seven years of living in this house, we had an antique, rectangular mirror hanging over the fireplace, a topiary on either side, and some photos scattered here and there on the mantel.  That's it.  It didn't change much, even around holiday time.

In the spirit of trying to flex my creative muscles, I decided to try a holiday mantel this year.  I covered the whole thing with lights, pine boughs (fake) and poinsettias (fake) and lived with it for a couple of days.  And every day I hated it more.  Maybe it's because Gavin kept trying to climb the pine boughs, or maybe it's because Nathan thought he could eat them.  Either way, I really just wanted something simple this year.


I found some wrapping paper that I liked at Target, so I started there.  I bought a piece of foam board at The Dollar Tree and covered it with the paper:


I also wanted to include these vintage ornaments.  They were my mom's when she was first married, and I think they're charming.

And I didn't want much else.  Here's what I ended up with:
I attached the foam board to the wall with sticky-tack, and hung my branchy (yes, I just used the word branchy!) wreath from a removable hook.  I also filled my hurricanes with fake snow and some pinecones from Michaels.

I also used these vintage candlesticks.  They were a flea-market find.

.
And I had some leftover Scrabble pieces from a project I'm working on in Gavin's room (which is almost done), so I figured I would add those to the mantel too!
So there you have it! A simple, easy, no-fuss holiday mantel, which I find much more refreshing than the overly-ornate ones, at least this year.


I'm linking up to Layla's Mantle Party!  Follow this link to see some truly inspiring mantels!

The Lettered Cottage

Saturday, November 27, 2010

kayce's blog: saturday's giveaway

My favorite dress of all-time is by designer Kayce Hughes. I love it, and every time I wear it I get tons of compliments. She's giving away a dress on her blog today. Go enter to win!

www.kaycehughes.blogspot.com

Friday, November 19, 2010

Harry Potter 7 Movie Premiere Party

I have been a Harry Potter fan forever; since the first book was published.  I've never gone as far as waiting in a long line in a Hagrid costume at Barnes and Noble at midnight, but I will admit to trying out a few spells in the privacy of my living room just to see if I might be a witch.  (I was SO hoping I was, so I could go teach at Hogwarts.  No luck.)  I could've totally used the Alohomora spell when Charlotte locked me into Gavin's bedroom.

Lucky for me, I have two students in my class who love HP and a good craft as much as I do.  This week, we held secret lunch meetings and planned a surprise "Harry Potter premiere party" for the rest of the class.  The good news:  the other kids were surprised and delighted.  The bad news:  I totally forgot my camera.  These iPhone shots will have to do.

We used small garden stakes (cut in half, with the point cut off) and paper bags to make little broom pins.  We cut the paper bags into thirds, and then cut a fringe and rolled it up.  Then, we tied black yarn around the paper bag for effect.  I added a dab of hot glue to the stake before putting it into the paper bag, and affixed a pin to the back with hot glue too.


Pretzel rods made great-looking wands.  I actually bought white chocolate morsels to melt and dip the end of the pretzel rod in (I thought it would look more wand-like) but I was too tired last night to follow through.  Sorry, kids!


Jelly Bellies fit the bill for Bernie Bott's Every Flavor Beans.  Alas, no earwax flavor.


And what's a party without some Butter Beer?


I'm going to admit, I had a teensy bit of trouble letting the kids make the brooms and do the design work with little help from me.  I'm a bit of a perfectionist in that area, but was super-proud of myself that I was able to step back and let the kids create.  And they did a fantastic job, right?  :)

Hope you Muggles are able to get out there and see the movie!  

Saturday, November 13, 2010

Nathan's Fire Truck Party

Even though it's going to be a small gathering, we still decided to have a "theme" for Nathan's second birthday.  Since he's starting to get into trucks, particularly fire trucks, we decided that would be easy enough.

I designed the invitation using a fire truck graphic from  JW Illustrations. Jessica does terrific clip art. It only cost $1.00 to download, bringing the total cost of the invitation to a whopping: $1.00.

More details are coming!


Sunday, November 7, 2010

Holiday Gift Ideas for Kids

Need some holiday gift ideas?  With three kids and lots of nieces and nephews, I spend a fair amount of time searching for the perfect gift.  I hope these suggestions make your holiday shopping a bit easier!

BEST FOR BIRTH-24 MONTHS

1.  A "lovey" blanket

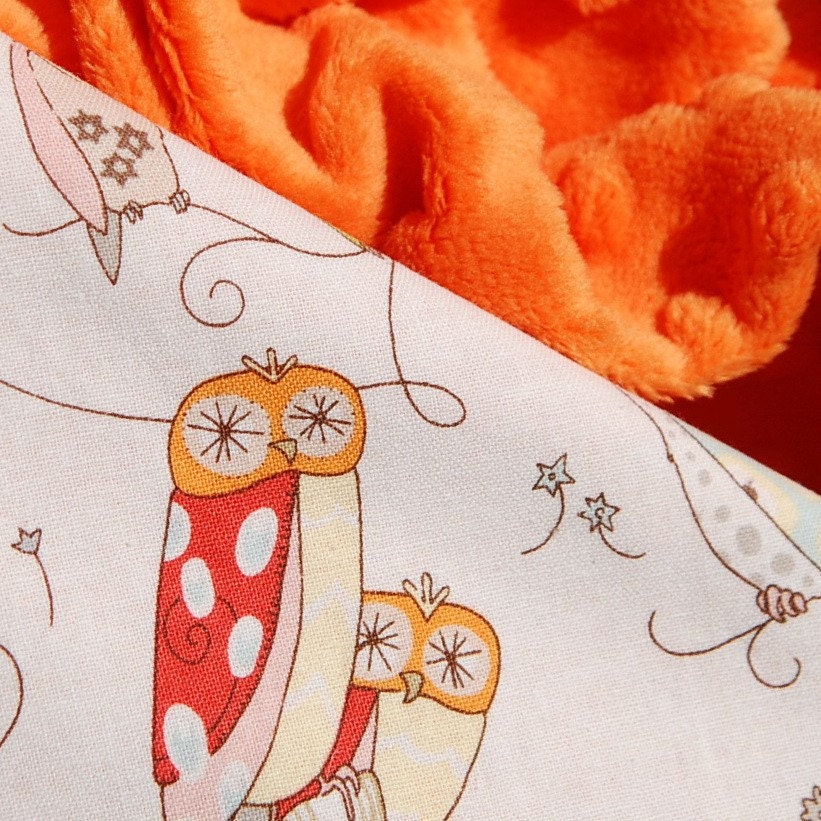
All three of my own kids and many of my nieces and nephews own loveys.  They have been a lifesaver at bedtime and naptime.  I like this one from BoCoBaby.  It's available in their Etsy shop.

2.  Music To Get Your Groove On

We like to pop in music while we're getting ready for dinner, in the car, and on lazy weekends. Not only is music great for cognitive development, but these CDs include songs that parents can sing along to as well.  

Hat Parade by Meg Russell
Our favorite song on this one is "Smile and Say Hello."  You can listen to some samples and purchase this CD here.


We are also big fans of The Laurie Berkner Band.  Caution:  the song "Family" will be stuck in your head constantly because it's so catchy.


Adorable, adorable, adorable in every way.


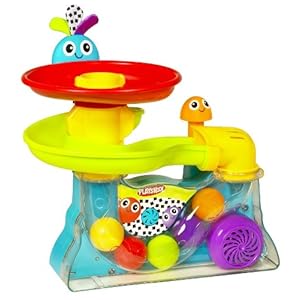
Okay, so this one plays a song that's a teensy bit annoying.  But the kids love this toy so much, I deal with it.


These are made of squishy plastic, and they go pretty fast when you pull back on them.  All of the kids play with them constantly.  Plus, they are super cute!

BEST FOR 2-3 YEARS

Can you tell that we love B Toys around here? The twins received this as a gift for their 2nd birthday, and they haven't stopped playing with it since!

Our cousin Reese has this kitchen, and every time we are at his house, Nathan "cooks" for hours.  
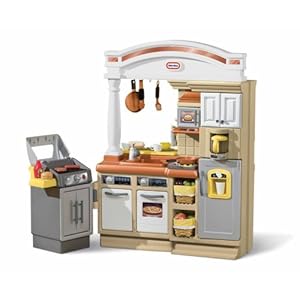


Not only is this made of solid wood from sustainable forests, but it doesn't require batteries!

This was so easy to assemble, and the base is wide so no one topples over.  (Wear a helmet anyway!)


On most days, I get my coffee delivered in a little blue cup.  :)  It's BPA-free and packaged in the cutest box ever.

Apparently, balance bikes are all the rage in Europe.  :)  Kids learn to push off with their feet and coast, and they learn how to balance their weight (as opposed to training wheels, where they just shift their weight from right to left).  The idea is that, since the kids learn to balance, they can progress right to a 2-wheeler.  (Don't tell Nathan -- he's getting this one for Christmas!)

Every kid in America should have this set.  It's never too early!


BEST FOR 4-5 YEARS


I'm not sure who plays with this more -- Gavin, or me.  There are literally hundreds of song combinations that kids can create.  My favorite style is the "hip hop" feature.  Your mini Pauly D. can scratch on the records and record their songs on the MP3 player.

It's easy for kids to point and shoot with this camera.  The picture quality is good, and the kids can even edit the photos.  It comes with a USB cord to upload to your computer.  There is also an editing and games feature.

I've shopped around, and this one gets great reviews.  These will be under the tree for the twins this year.

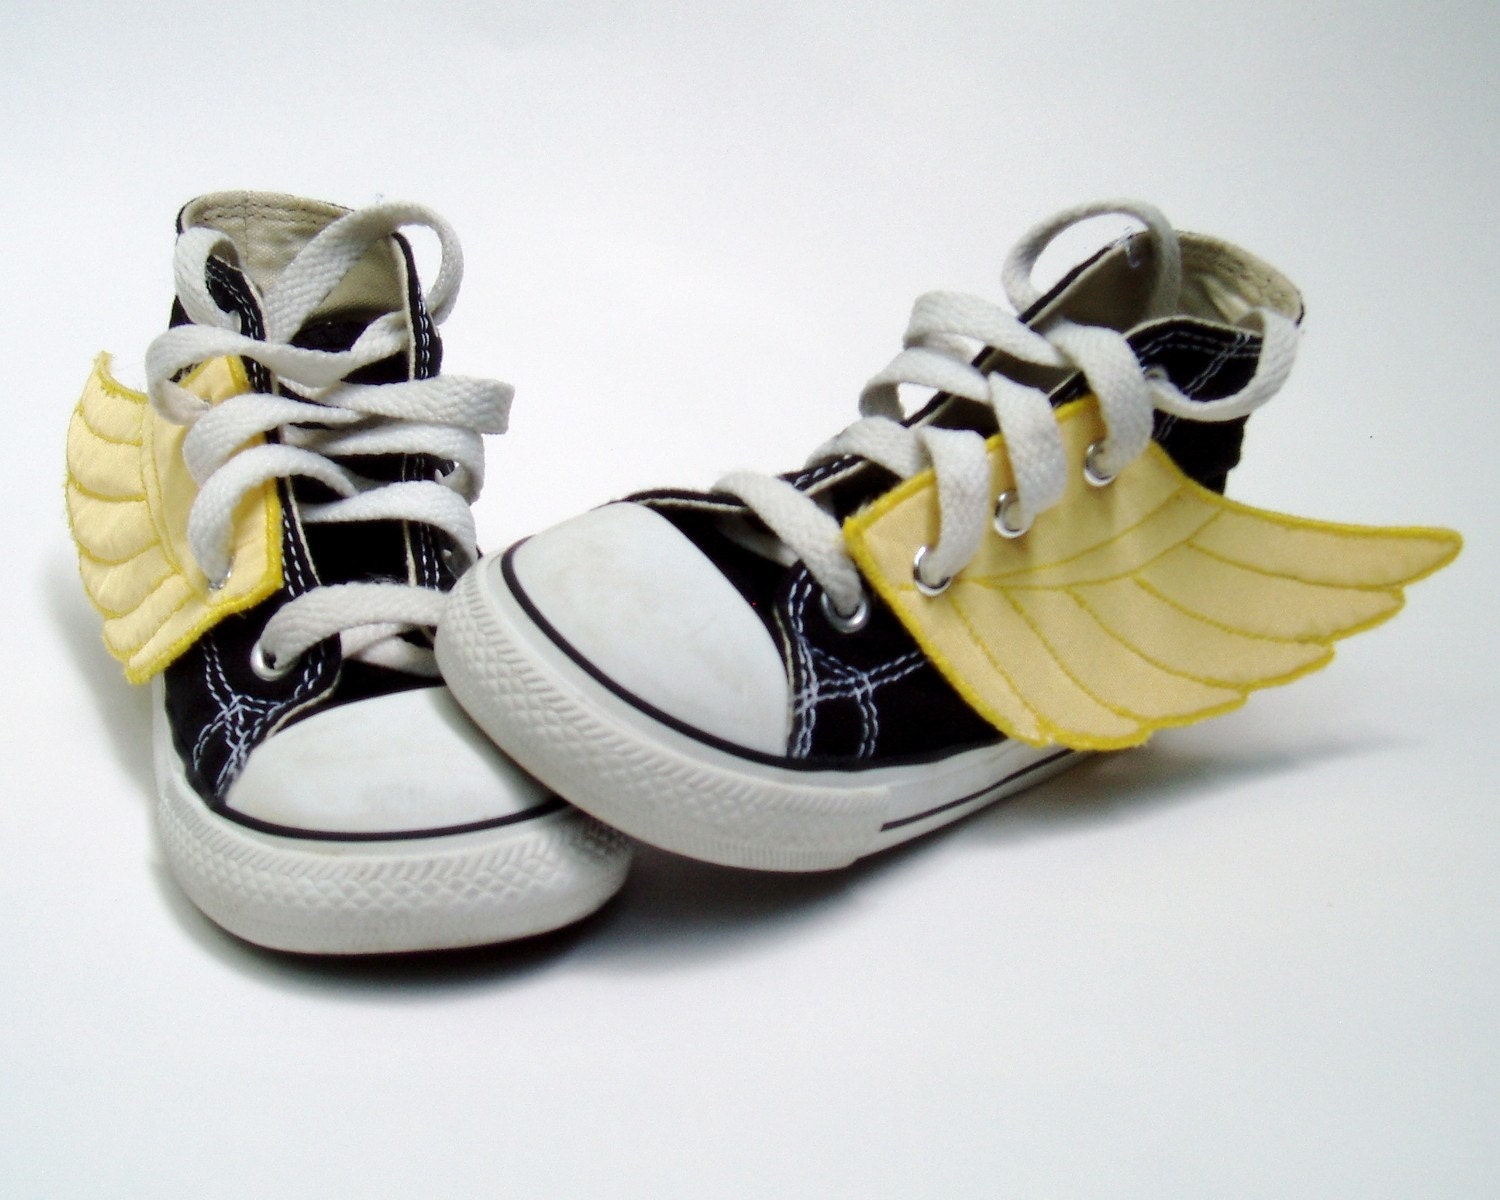
For your little superheroes.  LOVE.  You can find them at the Small Fly shop on Etsy.


This cardboard, decorate-yourself playhouse is made of 100% cardboard recycled material.  Perfection.


BEST FOR 6 AND UP


Get it quick!  This is one of the hot toys this year.  It's like an advanced game of catch.  You quickly open your mitt to release the ball, and your opponent snaps their mitt shut to catch.  
  

A fast, fun, and addictive word game.


I CANNOT WAIT until my children are old enough to appreciate this.  It even comes with little library cards and overdue notices.  Can you even stand it??!?!?

Some of my fondest childhood memories are looking at the night sky with my dad.  I think every kid needs a telescope to fuel their imagination.


For your little Picasso: "This wooden Super Art Box Kit features 2 wooden storage drawers, 2 wooden fold-out trays, and a pop-up easel in the top, so that when inspiration knocks, kids will be ready to answer. The 108-piece Super Art Box Kit includes 32 markers, 28 colored pencils, 24 oil pastels, 12 watercolors with palette, a paintbrush, a water bottle, 2 pencils, an eraser, a sharpener, a ruler, and 2 easel clips, making this the all-in-one set for the varied artist! The amazing Super Art Box Kit from Alex Toys, and all the included supplies, will turn any child into a well-equipped artist!"

Now it's your turn!  Leave a comment below and tell us your favorite toy or gift!